🐍 Index of the Complete Series.
🚀 Please note, complete code for this post can be downloaded from GitHub with:
git clone -b v0.2.0 https://github.com/behai-nguyen/fastapi_learning.git
During my research on “FastAPI application custom login process”,
I’ve encountered implementations where there are two endpoints for handling
authentication: the /token endpoint, as discussed in the
Tutorial – User Guide Security
section, and the application’s own login endpoint.
💥 This approach doesn’t seem right to me. In my view, the /token
endpoint should serve as the application’s login endpoint as well. In this post,
we introduce a preliminary custom login process with the endpoint being the /token
endpoint.
The code developed in this post maintains the one-module application structure from the original example. However, we’ve added a login HTML page and organised the project directory structure to prepare for further code changes as we progress. The updated project layout is listed below.
— Please note, those marked with ★ are updated, and those marked with ☆ are new.
/home/behai/fastapi_learning/
├── main.py ★
├── pyproject.toml
├── README.md ★
└── src ☆
    └── fastapi_learning
        ├── static
        │ └── styles.css
        └── templates
            ├── auth
            │ └── login.html
            └── base.html
Changes to main.py
include the following:
⓵ Lines 21 to 23: Added required imports to support HTML output.
⓶ Lines 25 to 45:
Completely refactored the fake_users_db database to slowly
match the test employees MySQL database by Oracle Corporation,
as utilised in the
SQLAlchemy database wrapper component FastAPI example,
and
Update the employees table, adding new fields email and password
.
⓷ Lines 49 to 50: Added initialisation code to prepare support for HTML template processing.
⓸ Lines 66 to 72: Refactored models
to align with the changes in fake_users_db.
⓹ Lines 95 to 100: Refactored
the get_current_active_user(...) method to cease checking
the disabled attribute of the
User model, as
this attribute has been removed from the model.
⓺ Lines 120 to 123: Implemented the
new /login endpoint, which simply returns the login HTML page.
🚀 Note that the endpoint code for the /token path,
specifically the method
async def login(form_data: Annotated[OAuth2PasswordRequestForm, Depends()]):,
remains unchanged.
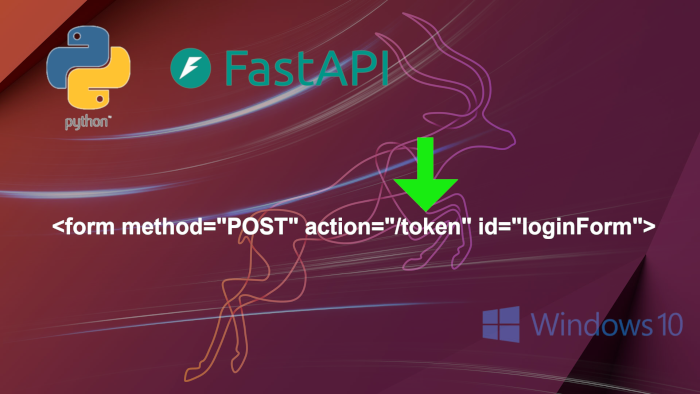
💥 Regarding the
HTML login page,
please take note of the following points:
...
    <form method="POST" action="/token" id="loginForm">
        <h1 class="h3 mb-3 fw-normal">Please login</h1>

        {% if message is defined %}
            <h2>{{ message }}</h2>
        {% endif %}

        <div>
            <label for="username">Email address:</label>
            <input type="email" class="form-control" id="username" name="username" placeholder="name@example.com" required value="">
        </div>

        <div>
            <label for="password">Password:</label>
            <input type="password" class="form-control" id="password" name="password" placeholder="Password" required value="">
        </div>
        <button type="submit">Login</button>
    </form>
...
⓵ The action of the login form is directed to the /token path.
In other words, when the login form is submitted, it sends a POST
login request to the same endpoint used by the Authorize button
on the Swagger UI page.
⓶ The names of the two login fields are username
and password. This requirement is specified in the tutorial in the section
titled Simple OAuth2 with Password and Bearer:
OAuth2 specifies that when using the “password flow” (that we are using) the client/user must send a
usernameandpasswordfields as form data.
🚀 Our application’s login process now shares the same server code as the Swagger UI login process. We have two separate “clients”:
-
http://0.0.0.0:port/docs: The Swagger UI client page. -
http://0.0.0.0:port/login: Our own custom login page.
On Ubuntu 22.10, run the application with the command:
(venv) ...:~/fastapi_learning$ venv/bin/uvicorn main:app --host 0.0.0.0 --port 5000
When accessing the Swagger UI page on Windows 10 at http://192.168.0.16:5000/docs, we encounter a familiar page:

The GET /login path should simply return the login
HTML page, while the remaining paths should function as discussed in the
first post.
When accessing the application’s login page on Windows 10 at http://192.168.0.16:5000/login, we are presented with our custom login page:

Upon logging in using one of the following credentials:
behai_nguyen@hotmail.com/password
or pranav.furedi.10198@gmail.com/password,
we should receive a successful JSON response, as depicted in the
screenshot below:

When attempting to log in using an invalid credential, we should receive
an HTTP 400 response, which indeed occurs, as seen in the
screenshots below:


In the current implementation, the login process is incomplete, but
it serves as an appropriate preliminary step nonetheless. We will
conclude this post here as I don’t want to make it too long… In
the next post or so, we will implement stateful sessions and extend
OAuth2PasswordBearer to maintain
authenticated sessions.
This means that after a successful login, users can access protected application
routes until they choose to log out.
Thank you for reading. I hope you find the information in this post useful. Stay safe, as always.
✿✿✿
Feature image source:
- https://www.omgubuntu.co.uk/2022/09/ubuntu-2210-kinetic-kudu-default-wallpaper
- https://in.pinterest.com/pin/337277459600111737/
- https://fastapi.tiangolo.com/